How to Set Up a Golf Simulator in Your Garage UK — Step-by-Step Guide
Converting a garage into a functional golf simulator isn't complicated, but it does require careful planning and an understanding of how the main components interact. This guide walks you through the key stages, from initial measurements through to hitting your first shots.
Assess Your Space Honestly
Most UK garages are between 7m and 8m deep, which is workable but requires careful positioning. You'll need a minimum of 3m of depth from the hitting position to the back wall, ideally 4m to avoid the projector and ball-catch net being cramped. Width matters less—5m is comfortable, though 4m can work if you're prepared to be slightly more disciplined with your swing plane.
Check the ceiling height. Standard garages are 2.1–2.3m high. For a typical golf simulator setup, the ceiling needs to clear the projector (usually mounted 1.8–2m high) and allow your club to swing freely without risk of hitting the light fitting or any roof joists.
Measure your available swing space carefully. It's easier to realise you don't have enough room before spending money than to discover it mid-setup.
Sort Out Flooring First
Your garage floor is probably concrete—that's fine, but it's not ideal for golf. A smooth concrete surface gives poor feedback underfoot and can be harsh on your joints during practice sessions.
Most people add either a mat-based system or create a modular flooring section. A dedicated golf mat (typically 1.5m × 3m or 2m × 3m) goes front and centre where you'll stand and swing. Surrounding it, lay affordable interlocking rubber tiles or foam mats to cover the working area. This absorbs some impact, keeps your feet comfortable, and defines the practice zone visually.
If you're installing a launch monitor pad, follow the manufacturer's dimensions—most are roughly 1m × 2m and sit just behind or integrated into your main hitting mat. Proper positioning here affects accuracy readings, so don't skimp on precise alignment.
Create a Containment System
A golf net catches errant shots and protects your garage walls and car. The standard approach is a back net and two side nets forming a U-shape around the impact area. Black or dark-coloured netting works best—it's easier on your eyes and creates a cleaner visual environment than bright yellow or white.
Net frames are typically aluminium or steel. Ensure they're sturdy enough to handle repeated impacts from genuine golf balls struck at realistic speeds (launch monitors with good sensors can pick up balls launched at 80+ mph). Cheap, flimsy nets bounce balls back unpredictably.
Leave a small gap between your back net and the rear wall—ideally 30–50cm. This gives the net some give when balls hit hard and reduces vibration transmission to the structure behind.
Position Your Launch Monitor Carefully
A launch monitor sits on or immediately behind your hitting mat and reads ball data—clubhead speed, ball speed, launch angle, spin rate. Its accuracy depends heavily on precise positioning.
Place it on a separate, level mounting pad at approximately the correct height for your swing (usually 30–40cm above the mat surface). Most units come with a stand; ensure it's rock-solid and won't shift with air movement or vibration. Even minor shifts degrade readings.
Check the manufacturer's recommended alignment. Many launch monitors must be positioned at a specific lateral distance from where you stand (often 40–60cm to the side). Placing it directly in front of your swing path usually produces poor readings.
If your garage is slightly sloped, use shims or a level base to keep the monitor truly horizontal.
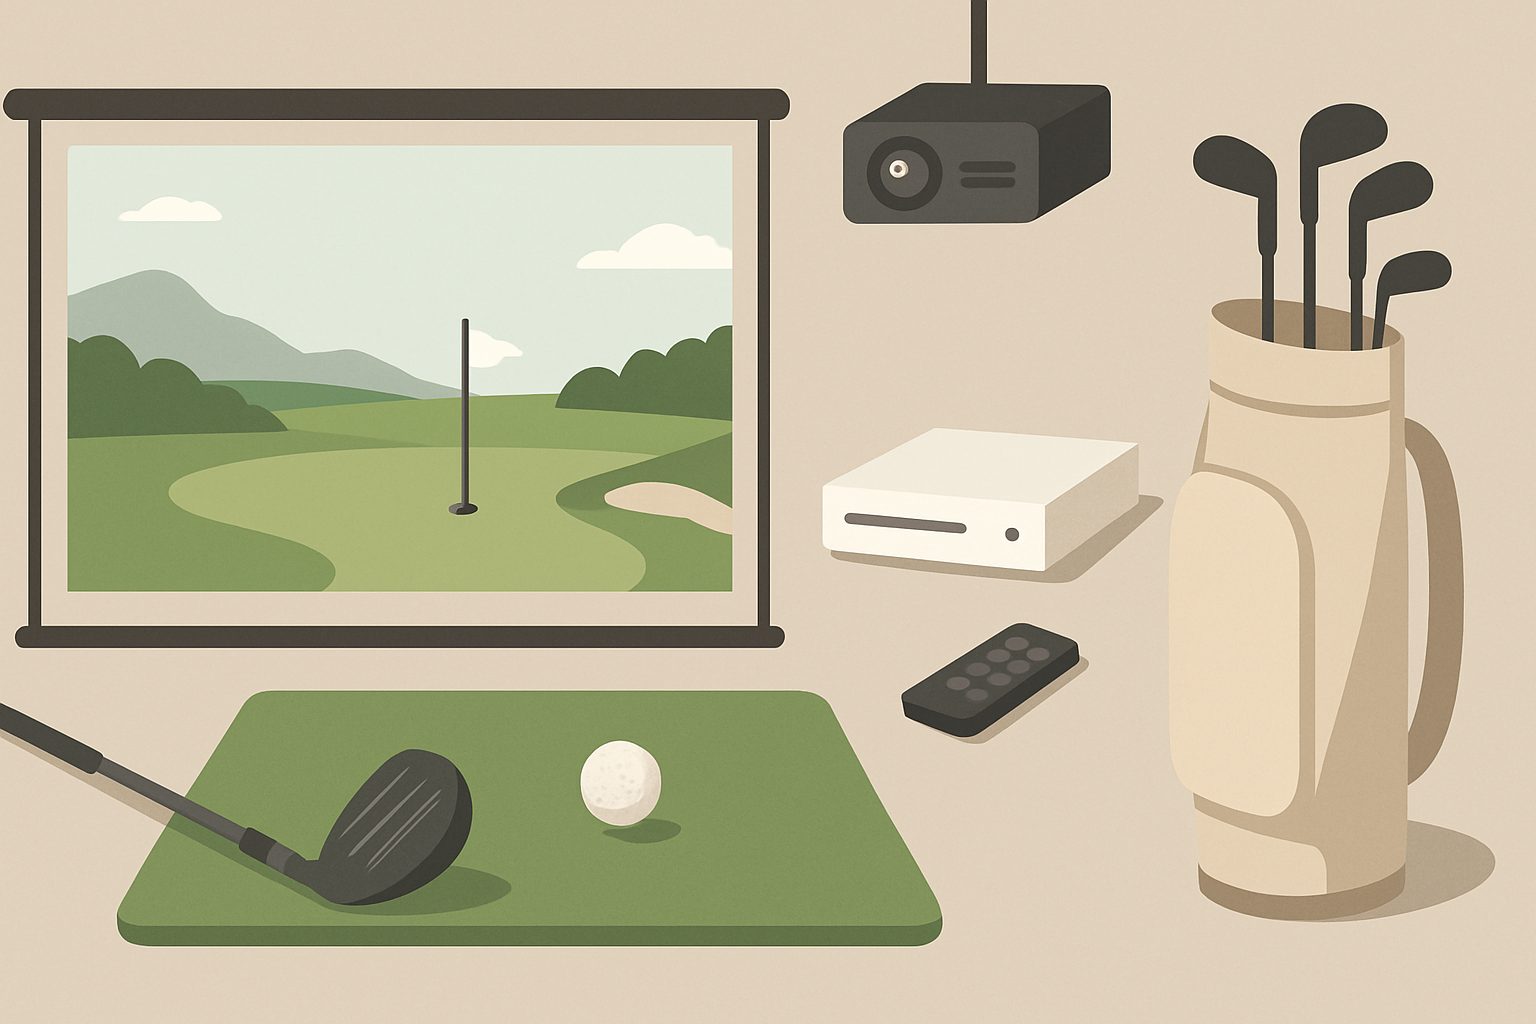
Mount the Projector Correctly
Ceiling mounting is standard. The projector needs to be positioned and angled so it fills your impact screen or net area with a clear image. This usually means mounting it roughly centrally (perpendicular to the net face) and 2–2.5m back from the screen.
Install a robust ceiling bracket designed for projectors—don't improvise with DIY mounts. The projector is expensive and unsecured weight dropping from ceiling height is a serious hazard.
Before permanent installation, use a temporary mount or tripod to test the throw distance, image size, and focus. You want the image to completely fill your net area without significant keystone distortion. Once you're satisfied, secure it properly.
Check that the projector has adequate clearance and ventilation. Garages are rarely climate-controlled, so cooling can be an issue in summer. Ensure the projector intake isn't blocked and have a plan for temperature management if you're using it in hot weather.
Set Up Electrical Infrastructure
You'll need power for the projector, launch monitor, and any software screen or display. Run appropriate-gauge cables safely—ideally in conduit to avoid trip hazards and damage. Don't run high-current equipment off extension leads designed for general use. If you need significant power draw (projector plus monitor plus screen), consider having a qualified electrician assess your garage supply.
WiFi connectivity is important for many launch monitors and simulation software. Test signal strength in your garage before committing; concrete walls attenuate WiFi, so you may need a mesh system or a hardwired ethernet connection if your garage is far from your router.
Calibrate and Test
Before you start using your simulator regularly, run the launch monitor's calibration sequence. Most systems include guided setup—follow it exactly. Poor calibration ruins your data and makes the sim frustrating to use.
Hit a few balls and check that readings feel realistic. Compare your perceived distances and club distances against real-world experience. Small discrepancies are normal, but significant errors often point to launch monitor positioning issues.
Final Optimisations
Add mirrors to one wall (cut them to avoid blind spots) so you can watch your swing video playback or check your posture. Ensure lighting is adequate—garage fluorescents work, though some people prefer a softer overhead light with accent LEDs pointing at the screen to reduce glare.
Keep your setup clean. Dust on the launch monitor's camera lens degrades accuracy; wipe it regularly. Inspect nets for wear and secure any loose corners that might catch flying balls.
Your simulator is now ready for serious practice.
More options
- Garmin Approach R10 Golf Launch Monitor (Amazon UK)
- SkyTrak+ Golf Launch Monitor (Amazon UK)
- Golf Simulator Impact Net & Enclosure Kit (Amazon UK)
- Golf Simulator Hitting Mat (Amazon UK)
- Short-Throw Projector for Golf Simulator (Amazon UK)